![]()
Create a QR Code Using the OmniPay dashboard

After hundreds of tests, we’re happy to announce the launch of the OmniPay QR code solution.
OmniPay QR code solution enables you to accept online payments from your customers. You can create a static payment QR, a generic QR, and a fixed amount QR code through OmniPay Dashboard.
Creating a QR code with OmniPay is a no-brainer.
Table of Contents
To access the static QR code for your business:
- Log in to the OmniPay Dashboard. Sign up if you don’t have access to the OmniPay QR code solution.
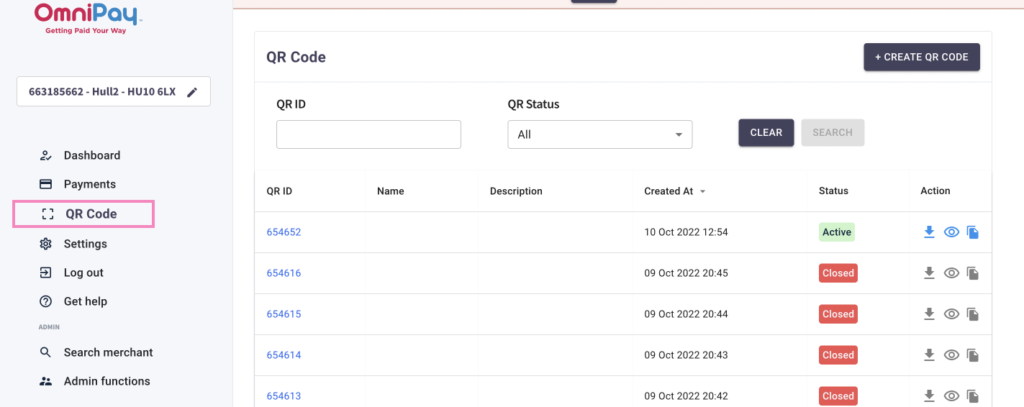
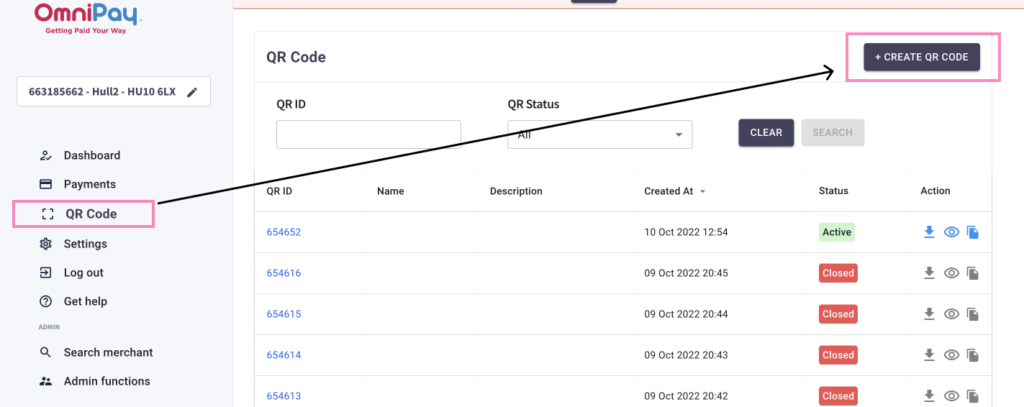
- Click the QR code from the left sidebar.
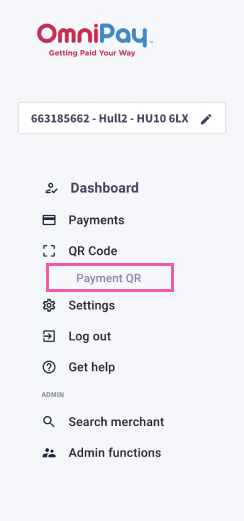
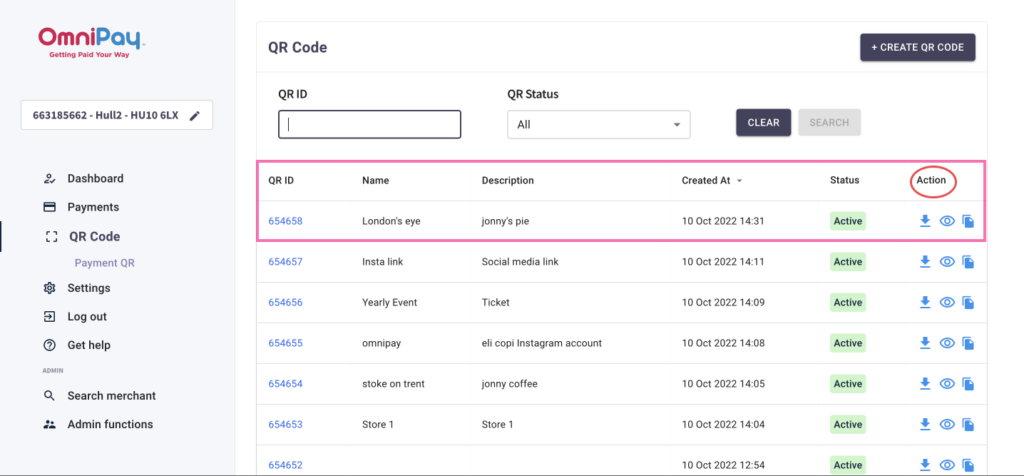
- A drop-down button named Payment QR will appear on the screen. Click on the Payment QR.
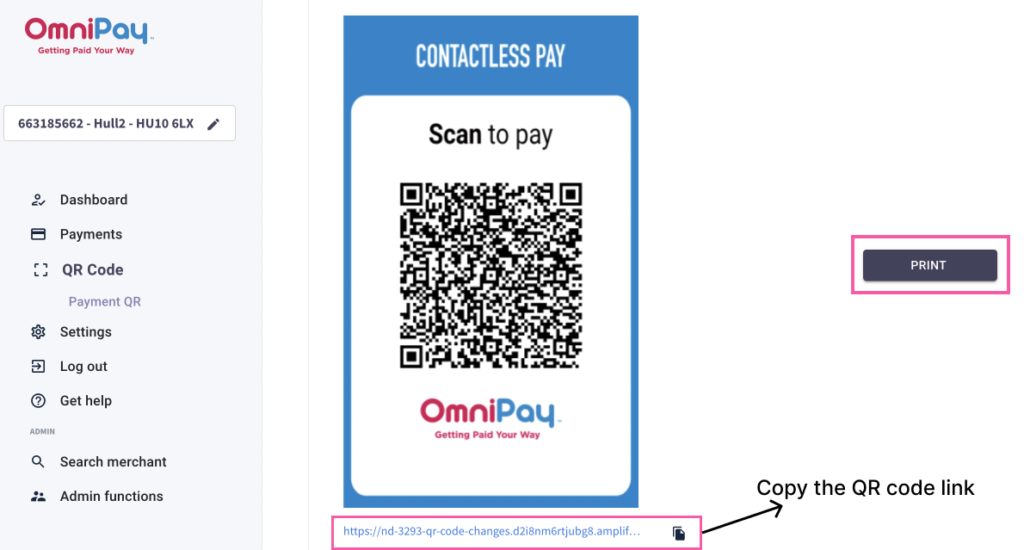
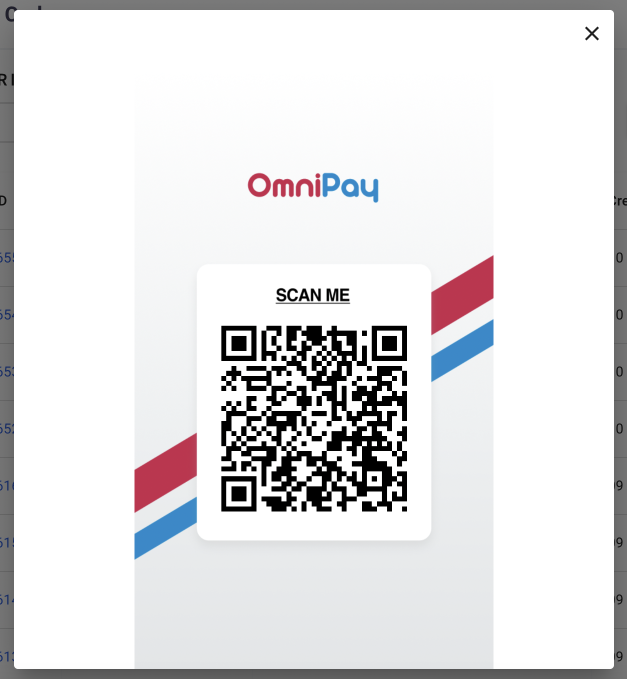
- You can see an auto-generated static QR code linked to your account on the screen. (There’s no fixed value attached to this QR code. Customers can quickly scan, punch in the amount and pay for the bought items.)
- The Payment QR page has two options:
- Copy the QR link and share it with the customers via social media accounts, SMS, email, etcetera.
- And print the QR code. Then you can place the printed QR code around your checkout counter. After you provide the bill amount, customers scan the QR and pay.
Create a fixed amount of QR code
- Click on the QR code from the left sidebar.
- Click on +create QR code on the top right.
- A “create QR code” page will pop up on your screen.
- Select the payment QR option.
- Under “Accept only fixed amount on this QR section?” click yes.
- Type in the description of what you’re using the QR code for. Though it’s an optional field, filling in the description will help you track the payment information efficiently.
- Next, fill in the amount you are charging your customer.
- In the “Expire by” section, you can set the date and time limit to keep the QR code active. When the appointed time and date exceed, the QR code will deactivate automatically.
- For example, if you’re buying tickets for an event, you can specify the fixed amount and the end time of the event. The QR will expire at the specified time.
- In the name section, you can type the store name and location you’re receiving payments for.
- Then, click generate QR code.
- To discard the QR, you can click cancel.
- After QR code generation, you can see a message saying, “successfully generated QR code”.
- You can view, download or copy the QR code link from the Action section on the dashboard.

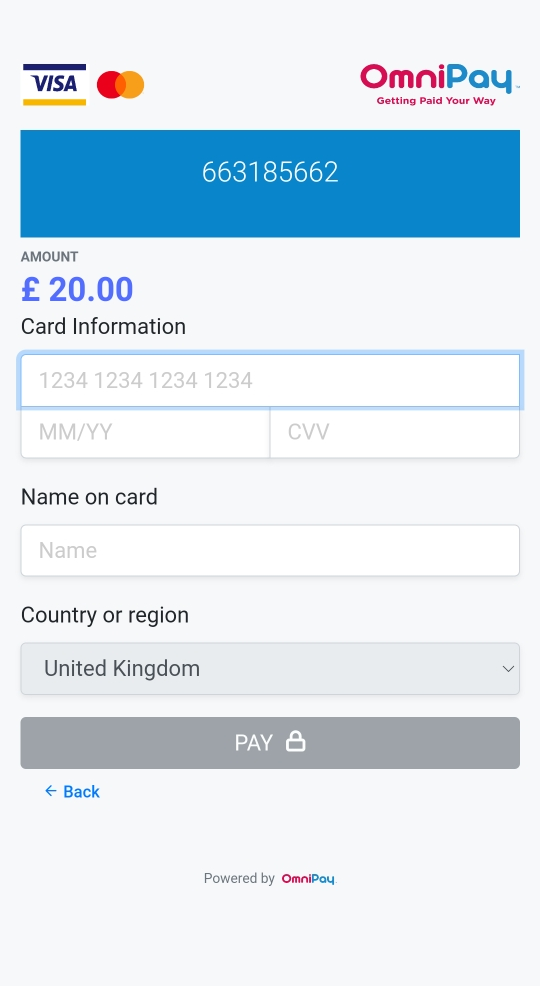
Show the QR code to your customers for scanning or send it to them via communication channels such as socials, SMS, email, etcetera.
Upon scanning, the payment page contains prefilled amount, and customers click the pay button.
Note 1: You can also create a static payment QR with an expiry date. Just choose payment QR instead of the fixed amount option.
Note 2: As a result of tokenisation, customers will no longer have to enter their information on the payment page whenever they shop with you.
Create a generic QR code
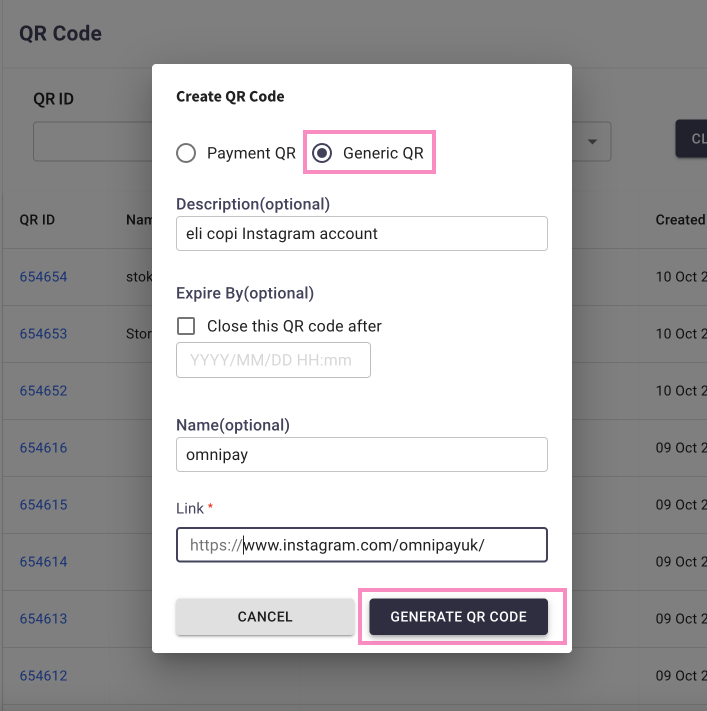
- After clicking on +create QR code, a “create QR code” page will pop up on your screen.
- Select Generic QR
- Type in the description of what that QR contains. For example, an Instagram account link.
- You can set the expiry date, but if the QR code redirects customers to pages such as Social media accounts, there is no need to select the expiry date.
- Next, fill in the name to wherever the link redirects customers to.
- Attach the link in the Link section, and click Generate QR Code.
Download, copy or view the generated QR code from the Action section.
Similarly, you can create feedback QR codes, special offers & discounts QR codes, and much more!
Generate multilocation QR codes (In case you have multiple stores)
- Click on the QR code from the left sidebar.
- Click on +create QR code on the top right.
- A “create QR code” page will pop up on your screen.
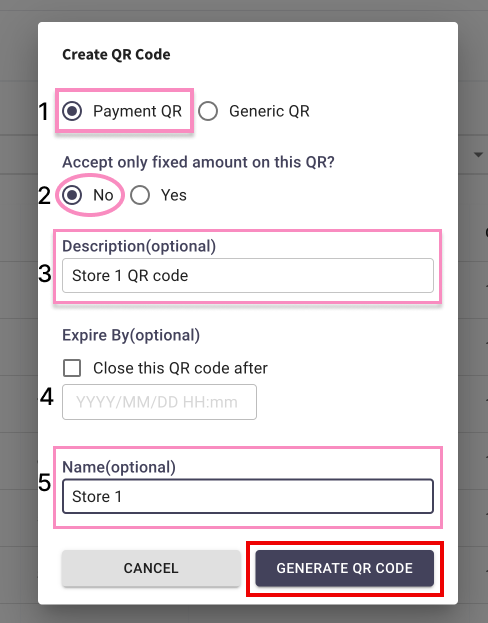
- Select the payment QR option.
- Under “Accept only fixed amount on this QR section?” click No.
- Type in the description of what you’re using the QR code for. Though it’s an optional field, filling in the description will help you track the payment information efficiently.
- Don’t check the Expiry by section.
- Next, type the store name you want to place the QR.
- Then, click Generate QR code.
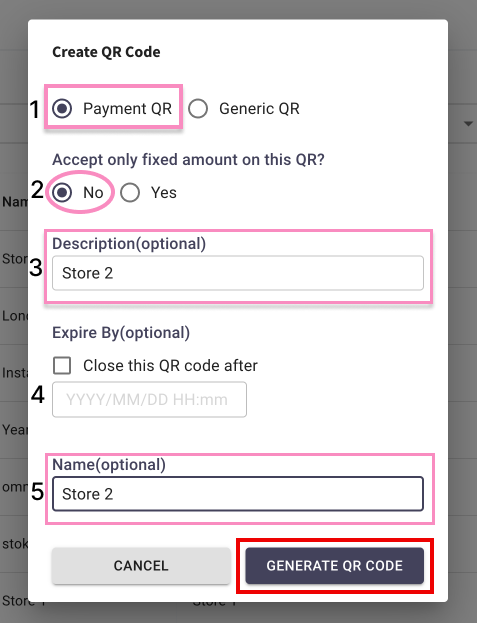
Similarly, you can generate a QR for each store with a unique QR ID. The unique QR ID will help you track payments for each store efficiently and faster.

The QR Status feature is a drop down filter you can apply to find specific QR code information. It consists of four fields — All, Active, Closed, and Expired.
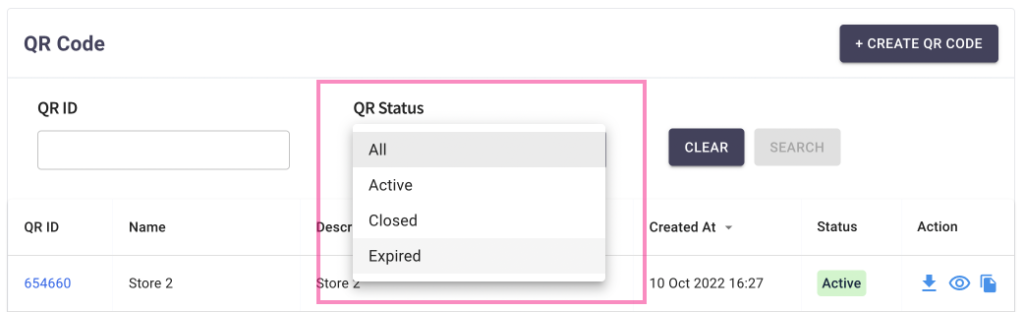
QR ID feature: Keeping track of QR codes at your different storefronts is easy with the QR ID feature. Input the QR ID of the store you want to track your payments for, and you’ll see all your transactions in one place.
Utilise QR code solutions to the benefit of your business. We hope the information above helped you understand how to access the QR code solution. However, if you still feel a bit confused, write in the comment section below or reach out to us at [email protected].
We’re ready to help!
